분류 전체보기 (358)
-
2015.04.20
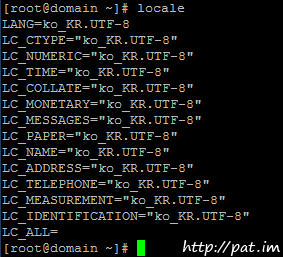
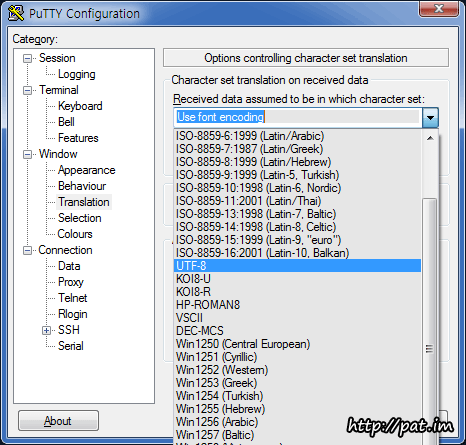
putty 한글 깨짐 현상 -
2015.04.20
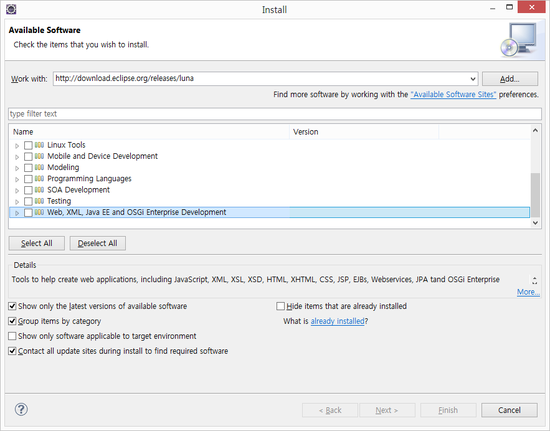
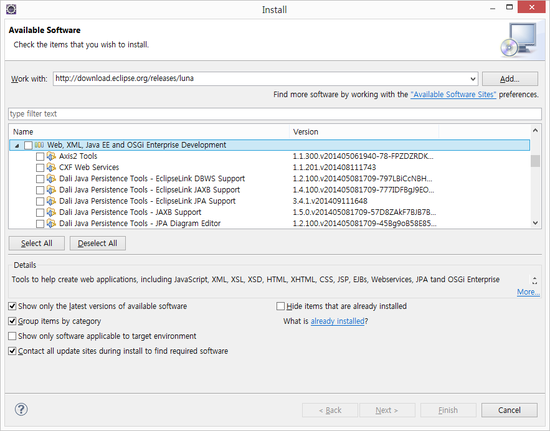
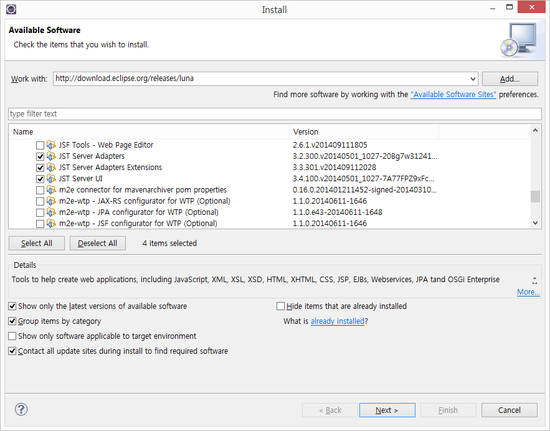
[Apache/Tomcat7] 이클립스와 톰캣 연동시 서버런타임에 톰캣서버가 목록에 안나온다면? -
2015.04.20
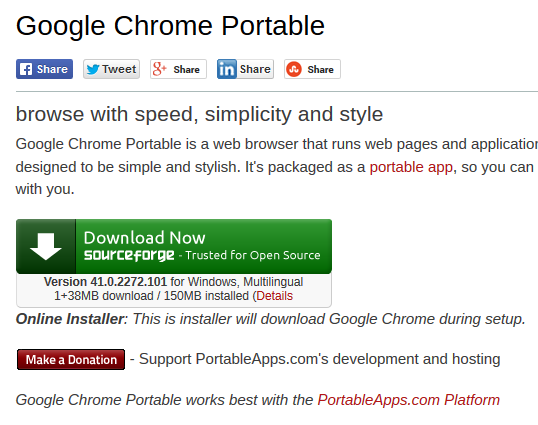
설치가 필요없는 포터블 크롬 브라우저 ( 업데이트 ) -
2015.04.20
crond를 이용한 서버에서 원격지로 자동백업하기 -
2015.04.20
vim 명령어 ( vi commands ) -
2015.04.20
.bashrc 와 .bash_profile의 차이점 -
2015.04.20
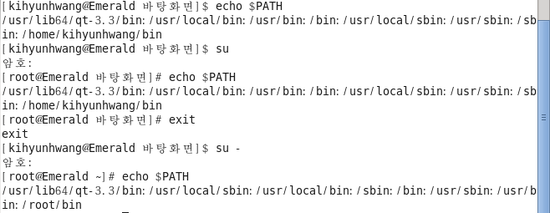
su 와 su - 의 차이점?? ( Differences between su and su - ) -
2015.04.20
FTP를 이용한 binary 데이타 백업 -
2015.04.20
리눅스에서 JAVA_HOME설정하기 ( Setting JAVA_HOME on Linux ) -
2015.04.20
서버의 물리메모리 크기 및 개수 확인하기 ( Check your server's phisical memory ) -
2015.04.20
[Linux] 파일 압축 하기 / 압축 풀기 ( Compressing / Uncompressing on Linux ) -
2015.04.20
[ Linux / CentOS 6.6 ] yum 명령어 사용하기 -
2015.04.20
cut, tr, awk, ls, tail을 이용한 특정 필드의 값 추출하기 -
2015.04.20
리눅스/유닉스 서버 시간 변경하기 ( Chaning Linux/Unix Server Time ) -
2015.04.14
테이블 제약사항 조회하기 ( Querying constraints of a table ) -
2015.04.14
Rename을 이용한 테이블 백업 ( Table Backup using Renaming ) -
2015.04.14
테이블 명 변경하기 ( Renaming Table Name ) -
2015.04.14
인덱스 목록 조회 ( Querying Index List )